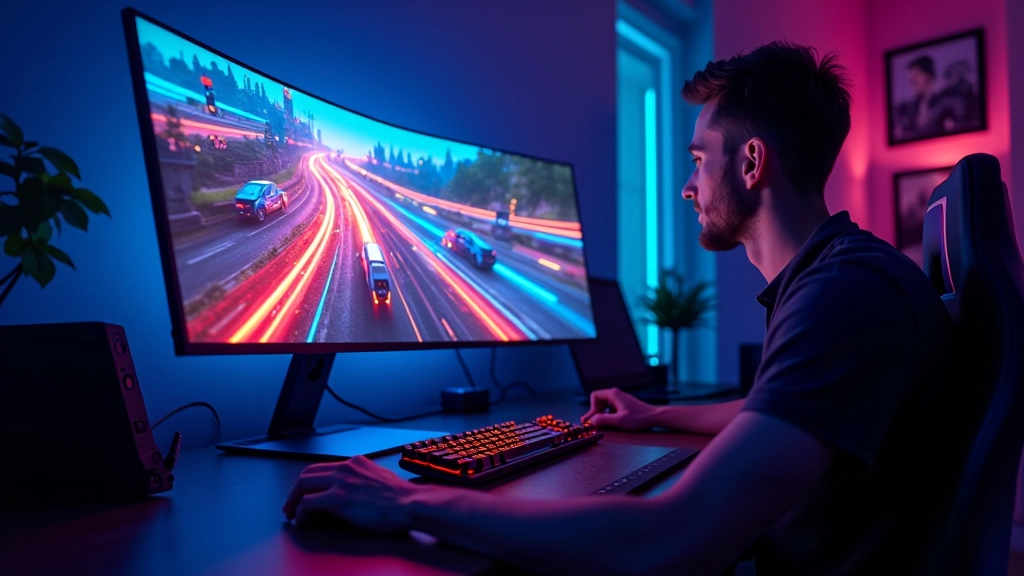
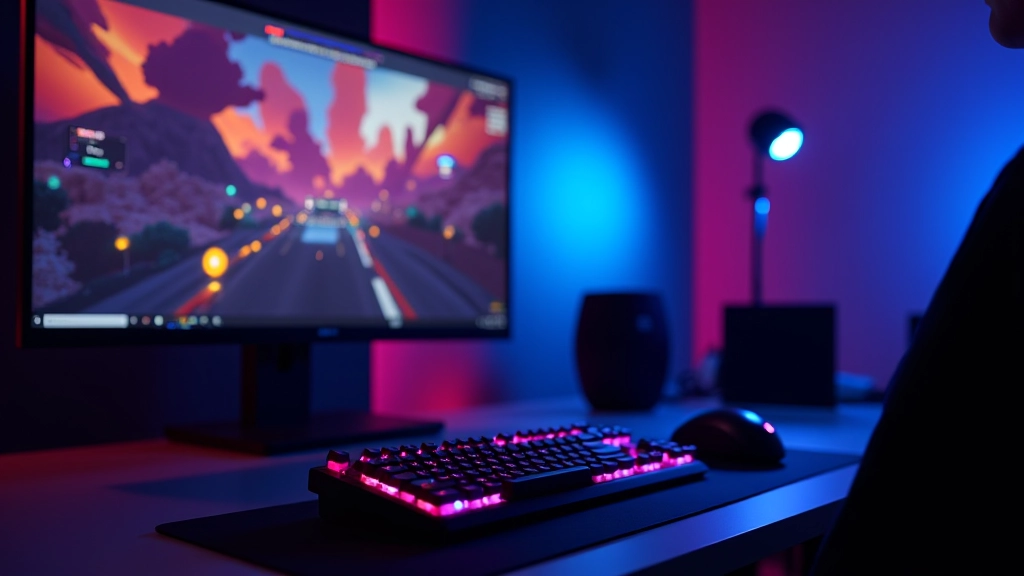
Why Canvas Matters for Game Development
The Canvas API is your gateway to browser-based graphics. It’s the foundation that powers thousands of games running right now in people’s browsers — no installation, no plugins, just pure performance.
Here’s the thing: you don’t need fancy game engines to start. Canvas gives you direct control over pixels and animation frames. You’ll write maybe 100-150 lines of code to get a moving rectangle on screen, and that’s genuinely all you need to begin.
Most developers jump to frameworks because they sound professional. But frameworks hide what’s actually happening underneath. Learning Canvas first means you’ll understand how animation loops work, how collision detection really happens, and why performance matters. That knowledge stays with you forever.
Setting Up Your Canvas Element

Setting up Canvas isn’t complicated. You need three things: an HTML canvas element, a reference to it in JavaScript, and a 2D context. That’s it.
The canvas element itself is simple — just a 400×400 pixel space by default. But here’s where beginners mess up: they don’t set the actual pixel dimensions. Your canvas might display at 800×800 on screen but only have 400×400 pixels internally. This stretches everything and tanks your frame rate.
Always set width and height attributes directly on the element, not with CSS. CSS scales the display; attributes set the actual drawing surface. You want both to match — so a 640×480 canvas has width=”640″ height=”480″ attributes, and your CSS might scale it for different screen sizes.
Educational Note: This guide is for learning purposes. Canvas API capabilities vary by browser, and performance depends on hardware. Always test your code across devices. For production games, consider progressive enhancement and fallback options for older browsers.
Drawing Basic Shapes
Canvas gives you rectangles, circles, lines, and paths. You’ll use these to build everything else.
Rectangles are your starting point. You’ve got three methods: fillRect draws a solid rectangle, strokeRect draws just the outline, and clearRect erases an area. Most games use fillRect constantly — backgrounds, platforms, enemies, projectiles.
Circles come from the arc method, which sounds intimidating but isn’t. An arc from 0 to 2π (that’s Math.PI * 2) gives you a full circle. Fill it and you’ve got a ball. It’s genuinely that straightforward.
The key thing nobody mentions: you need to set fillStyle or strokeStyle before drawing. Set your color, then draw. Otherwise you get the default black. And yes, you can use hex colors, rgb, rgba — whatever you’d use in CSS works here too.
Animation and the Game Loop
Animation is just drawing the same scene over and over, slightly different each time. That’s it. Your eyes blend the frames together and perceive motion.
Use requestAnimationFrame — not setTimeout or setInterval. RAF syncs with your monitor’s refresh rate, so if you’ve got a 60Hz screen, your code runs 60 times per second. It’s smooth and efficient.
Your game loop does three things in order: clear the canvas, update your game state (move objects, check collisions), then draw everything. Clear first — otherwise you get motion trails, which is sometimes cool but usually wrong.
Most games run 60 frames per second. That gives you about 16 milliseconds per frame. Keep your update and draw code simple, and you’ll have no problem hitting that target on decent hardware.
Handling User Input
Players expect to control things immediately. No lag, no weirdness. Canvas itself doesn’t handle input — you listen for keyboard and mouse events on the document, then update your game state based on what the player pressed.
Keyboard is straightforward. Listen for keydown and keyup events, track which keys are currently pressed in an object or Set, then check that state in your update function. Don’t try to react directly to keydown — you’ll miss input and the movement will feel choppy.
Mouse is similar. Track the current position with mousemove, check for clicks with mousedown/mouseup. For games, you’re usually either controlling a character with arrow keys or aiming with the mouse.
Touch input works the same way conceptually. Listen for touchstart, touchmove, touchend. Get the touch position from the touch object, not the event. Mobile games need this, and it’s not complicated once you understand the pattern.
Next Steps in Your Canvas Journey
You’ve got the basics now. Canvas is genuinely forgiving when you’re learning — everything you do is visible immediately, and you can tweak colors and positions and see results in seconds.
Build something small. A square that moves when you press keys. A circle that bounces around. These projects sound trivial, but they cement how animation loops work. You’ll hit edge cases — what happens at screen boundaries, how do you track position smoothly, should movement be pixel-perfect or interpolated.
After that, look at sprite animation and collision detection. Those are the next mountains to climb, and they’re built on everything you’ve learned here. Canvas scales up beautifully — the fundamentals don’t change, you just add complexity.